This article is designed for React beginners who want to practice for their first interview, as well as people learning the core concepts. I think I can help you figure this out…
Particularly these simple exercises helped me practice and do well in the interview.
Here are the topics I will cover:
- Display simple JSX
- Display array of cars to browser
- Generate a list with for in React
- Create an event with Class and Function Component
- Update Parent State From Child
- Show/Hide Element on Screen
- 2-way data binding in ReactJS
My advice is to try writing these exercises. Exercising is an incredible way to reinforce new knowledge immediately. Let’s go!
# 1. Display simple JSX
React supports a special syntax called JSX, which looks a lot like HTML, but is turned into real JavaScript code by a compiler.
Display `This is a JSX!` as an”output”.
Solution:
import React from 'react';
import ReactDOM from 'react-dom';

function App() {
  return <div>This is a JSX!</div>;
}

ReactDOM.render(<App/>, document.querySelector('#root'));
# 2. Display an array of cars to the browser.
The best way to choose a key is to use a string that uniquely identifies a list item among its siblings. Most of the time you would use IDs of your data as keys. I used the map() function to obtain an array.
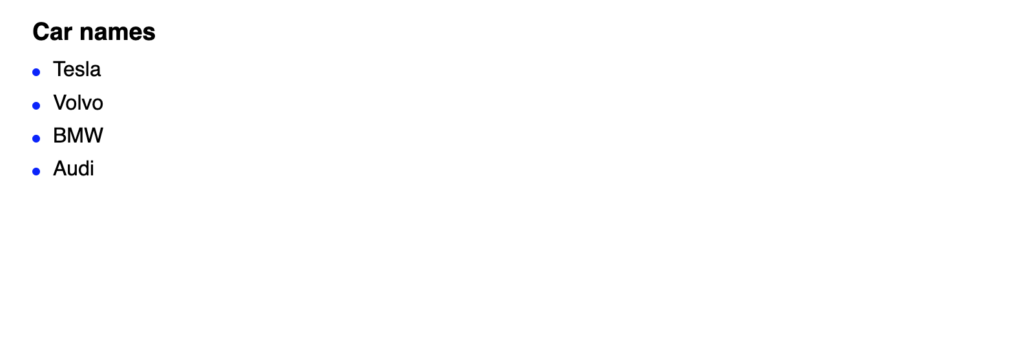
Show all cars in the browser using a map array with React key.
Solution:
const cars = [
  { name: "Tesla", id: 1 },
  { name: "Volvo", id: 2 },
  { name: "BMW", id: 3 },
  { name: "Audi", id: 4 }
];

function App() {
  return (
    <>
      <h3>Car names</h3>
      <ul>
        {cars.map((car) => (
          <li key={car.id}>{car.name}</li>
        ))}
      </ul>
    </>
  );
}

ReactDOM.render(<App />, document.getElementById("root"));
# 3. Generate a list with for in React
“For loops” exist in many different languages. With “for” we pass 3 parameters, the first is going to be the assignment of the interactor or the variable, ex: (let i = 0); the second is going to be the conditional, ex: (i > 10) and the last is the increment, ex: (i++). Don’t forget the key, which is a hint to react loops.
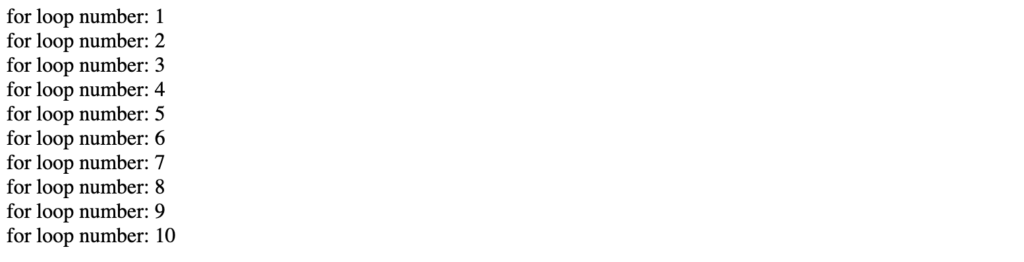
Generate a list of numbes from 1 to 10 using for loop.
considering you have an HTML <div id="root"></div>
Solution:
import React from 'react';
import ReactDOM from 'react-dom';

function generateList() {
  const numbers = []
  for(let i = 1; i >= 10; i++) {
    numbers.push(<div key={i}>Loop number:{i}</div>)
  }
  return numbers
}

function App() {
  return (
    <>
      {generateList()}
    </>
  );
}

ReactDOM.render(<App/>, document.querySelector('#root'));
# 4. Create an event with Class and Function Component
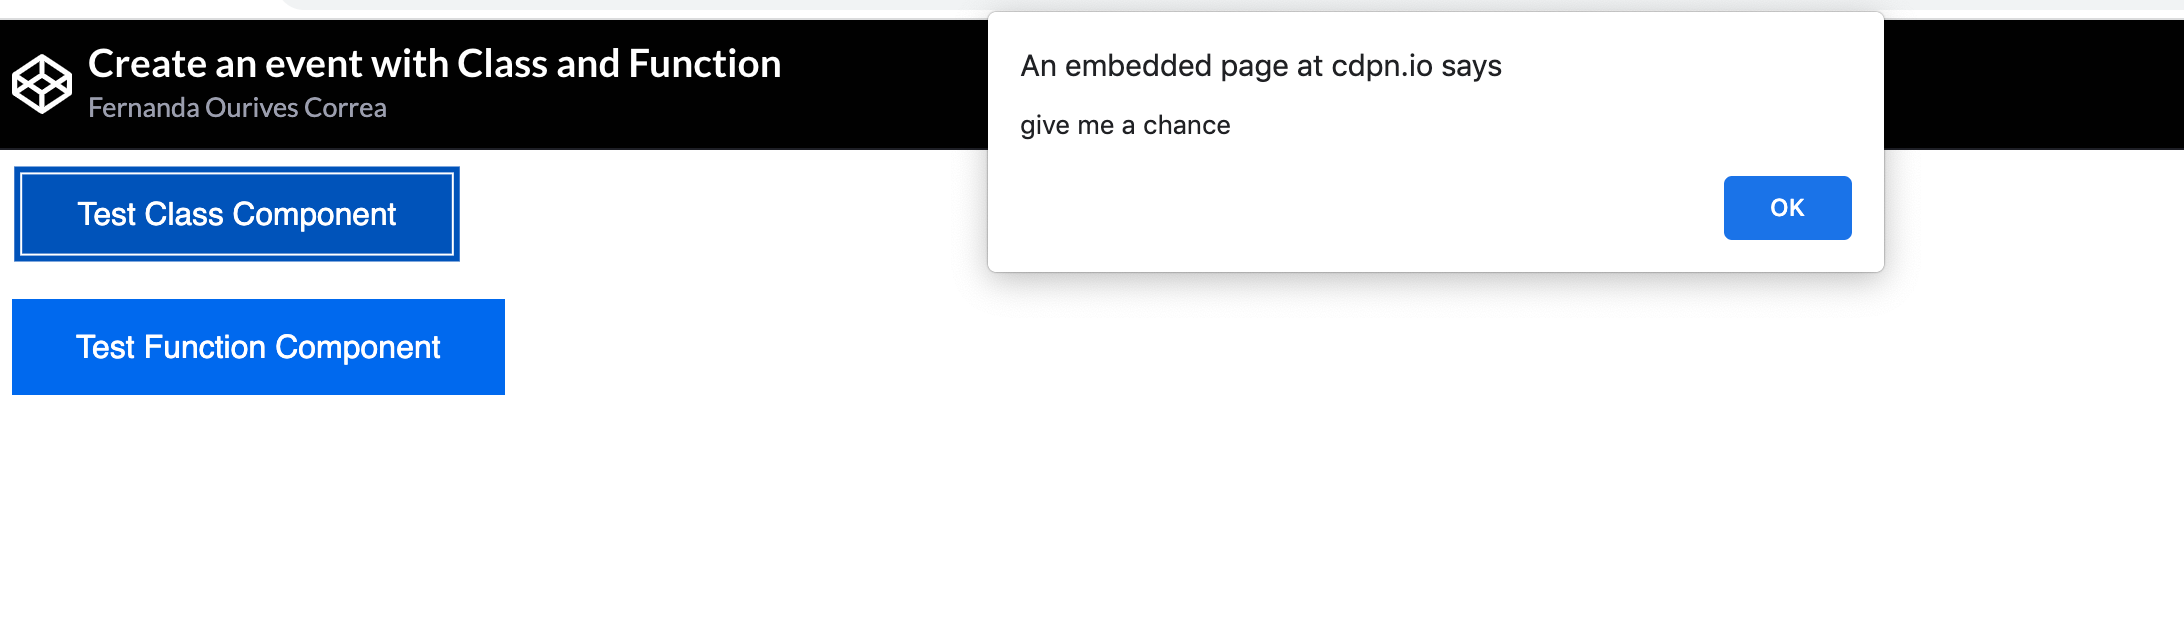
In this exercise you can use any kind of event, often it’s used the “alert event”, so I going to use this one!
Class Component
class SimpleEvent extends React.Component {
  job() {
    alert("give me a chance");
  }
  render() {
    return (
    <div>
    <button onClick={this.job}>Test Class Component</button>
    </div>
     )
  }
}

ReactDOM.render(
  <>
    <SimpleEvent />
    <App />
  </>,
  document.getElementById("root")
);
Function Component
function App() {
  const message = () => alert("give-me a chance!");
  return (
    <div>
      <button onClick={message}>Test Function Component</button>
    </div>
  );
}

ReactDOM.render(
  <>
    <SimpleEvent />
    <App />
  </>,
  document.getElementById("root")
);
You can check this out on Codepen below.
# 5. Update Parent State From Child
Parent text (Update me from my Child) should be updated when the child button is clicked. Feel free to use any string to update the parent’s current string.
Solution:
function Parent() {
  const [value, setValue] = React.useState("Update me from my Child");
  return (
    <>
      <p>Update Parent State Challenge (Using Callback)</p>
      <div className="wrapper">
        <h1>Parent</h1>
        <div className="box-wrapper">{value}</div>
      </div>

      <div className="wrapper">
        <Child onClick={() => setValue("Parent has been updated!")} />
      </div>
    </>
  );
}

function Child({ onClick }) {
  return (
    <>
      <h2>Child</h2>
      <button onClick={onClick}>Change Parent Value</button>
    </>
  );
}

ReactDOM.render(<Parent />, document.getElementById("root"));
For this exercise, we used react.useState. which is a Hook that lets you add React state to function components. So, the first state value is “Update me from my Child”, and when I click onClick() I call the setState (“setValue”) to update the Parent.
See complete with CSS on Codepen:
# 6. Show/Hide Element on the Screen
In this exercise, a click on a button should toggle (show/hide) the string “Toggle Challenge” each time it is pressed
Make the button functional.
Solution:
function App() {
  const [show, setShow] = React.useState(false);

  return (
    <div>
      <button onClick={() =>
        setShow(!show)}>
        {show ? "Hide Toggle" : "Show Toggle"}
        </button>

         {show && <h2>Toggle Challenge</h2>}
    </div>
  )
}

ReactDOM.render(<App />, document.getElementById("root"));
# 7. 2-way data binding in ReactJS
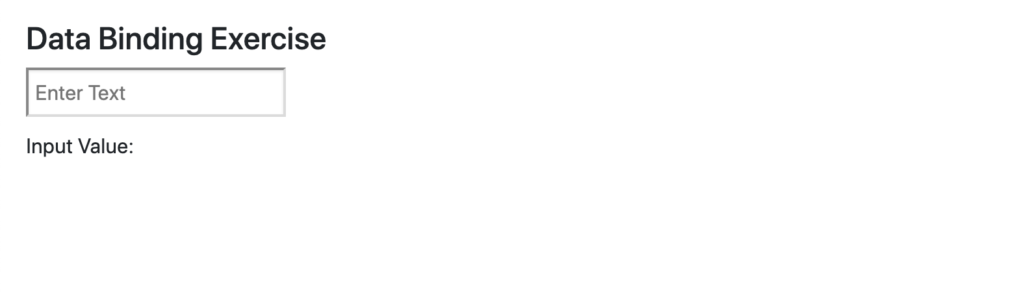
In this exercise, the user should be able to type in any characters on input and those characters should show in the browser.
Solution:
function App() {
  const [value, setValue] = React.useState("");

  return (
    <>
      <input
        type="text"
        onChange={(e) => setValue(e.target.value)}
        placeholder="Enter Text"
      />
      <p>Input Value: {value}</p>
    </>
  );
}

ReactDOM.render(<App />, document.getElementById("root"));
Or…
If you would like to play with these exercises, check out my codepen collection.