Creating a skeleton loading effect with CSS and JavaScript involves using CSS to create the visual appearance of the loading animation and JavaScript to manage the display and timing. The skeleton loading effect typically displays a basic outline or structure of the content before the actual data is loaded, giving users the impression that something is loading.
What is Skeleton Loading effect and what it is used for?
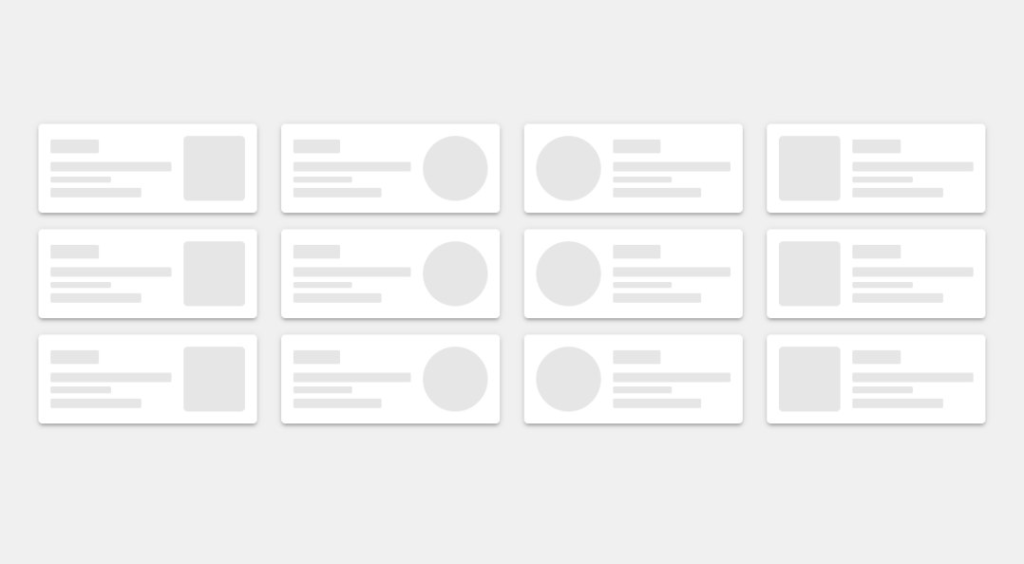
A skeleton loading effect, also known as a skeleton screen or skeleton UI, is a user interface (UI) design pattern used in web and mobile applications to improve the perceived performance and user experience during content loading. It involves displaying a simplified and empty version of the expected content structure while the actual content is being fetched from a server or loaded into the application. This gives users the impression that something is happening and helps reduce the perception of long loading times.
The skeleton loading effect is typically used for the following purposes:
- Reducing Perceived Loading Time: While actual loading might take some time, showing a skeleton representation of the content structure immediately gives users visual feedback that the application is responding. This can make the waiting time feel shorter and improve the overall user experience.
- Preventing Blank Screens: Instead of leaving users staring at a blank screen while waiting for content to load, the skeleton loading effect fills the screen with a basic outline that matches the expected content layout. This reduces the feeling of the application being unresponsive.
- Maintaining Context: In cases where content is dynamically loaded or fetched through APIs, using skeleton screens can help users understand where the content will appear once it’s loaded. This is particularly important for maintaining context and preventing confusion.
- Engaging Users: Skeleton loading screens can engage users by giving them a preview of what’s coming. It can spark curiosity and anticipation, making users more likely to wait for the content to load.
- Consistent Design: The skeleton loading effect maintains the visual aesthetics of the application, ensuring that the loading experience feels seamless and consistent with the app’s design language.
- Optimizing User Flow: In situations where the application has multiple sections or pages, using skeleton screens can allow users to navigate between sections without interruption, as the skeleton loading provides continuity.
To implement a skeleton loading effect, developers typically use CSS to style the skeleton placeholders and JavaScript to control the display timing. The goal is to replace the skeleton representation with the actual content as soon as it becomes available. This approach helps enhance the user experience, making the application feel more responsive and engaging, even during content loading.
Steps to create a simple skeleton loading effect
HTML Structure: Create the HTML structure for your content and the skeleton loading effect. Typically, you would have a container element that holds the content and a separate skeleton loading element with the same structure but only containing placeholders. For example:
<div class="content-container">
  <!-- Skeleton Loading -->
  <div class="skeleton-loading">
    <!-- Add skeleton placeholders here -->
  </div>

  <!-- Actual Content -->
  <div class="actual-content" style="display: none;">
    <!-- Add your actual content here -->
  </div>
</div>
CSS Styling: Style the skeleton loading element to give it a grayish, simple appearance. The following is a basic example:
.skeleton-loading {
  background-color: #f1f1f1;
  border-radius: 4px;
  height: 16px; /* Adjust height according to your content */
  margin-bottom: 10px; /* Adjust margin as needed */
  width: 100%; /* Adjust width according to your content */
}
JavaScript to Manage Loading:
The JavaScript code will handle the timing and logic for displaying the actual content and hiding the skeleton loading effect. In this example, I’ll use a setTimeout function to simulate loading time. After the data is loaded, I’ll display the actual content and hide the skeleton loading.
// JavaScript to simulate loading and display content
document.addEventListener("DOMContentLoaded", function () {
  // Simulate API or data loading time (You can replace this with actual loading logic)
  setTimeout(function () {
    // Hide the skeleton loading and show the actual content
    const skeletonLoading = document.querySelector(".skeleton-loading");
    const actualContent = document.querySelector(".actual-content");

    skeletonLoading.style.display = "none";
    actualContent.style.display = "block";
  }, 2000); // Adjust the timeout as needed (in milliseconds)
});
Remember to adjust the duration of the setTimeout function to match the expected loading time for your data.
That’s it! With this approach, the skeleton loading effect will be visible until the content is loaded, and then it will be replaced by the actual content. The loading experience for users of your project will be smoother.